How To Tighten the Chain on a Chainsaw
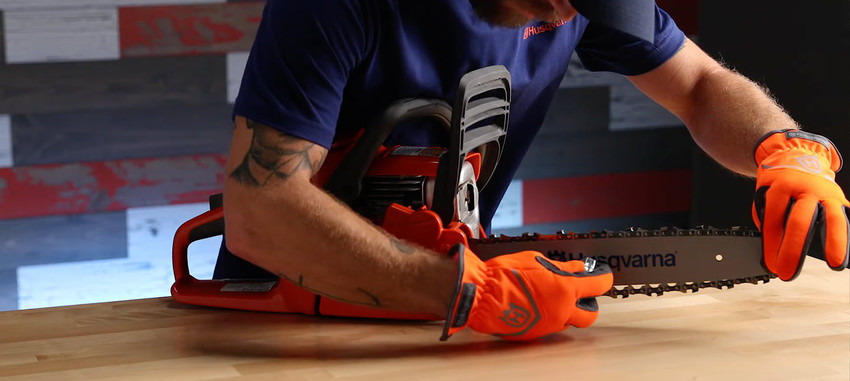
Husqvarna May 23rd 2023Watch as professional arborist and Husqvarna H-Team member Jeff Perry walks you through the simple process of chain tensioning on a Husqvarna 120 Mark II chainsaw.
Content provided by Husqvarna
Video Transcript
Brandon:
Today we’re going to show you how to properly tension the chain on a Husqvarna 120 Mark II chainsaw.
What You’ll Need
-
A scrench (chainsaw screwdriver/wrench tool)
Step 1: Locate the Tensioning Area
The chain tensioning screw is found on the side of the clutch cover. This is where you’ll adjust the chain.
Step 2: Loosen the Guide Bar Nuts
-
Use the scrench to loosen the guide bar nuts on the clutch cover.
-
Once loose, thread them gently back on by hand. This allows the bar to move as you adjust the chain.
Step 3: Adjust the Chain Tension
-
While lifting the tip of the guide bar, insert the scrench into the tensioning screw.
-
Turn the screw clockwise to tighten the chain and remove slack.
Step 4: Check Chain Movement
-
Spin the chain by hand (while wearing gloves) to make sure it moves freely along the bar without sagging.
-
The chain should be snug, but still able to glide smoothly.
Step 5: Re-Tighten the Bar Nuts
-
Once the chain is properly tensioned, fully tighten the guide bar nuts with the scrench.
-
Recheck chain movement one final time.
✅ Ready to Work
With the chain tension set, your Husqvarna 120 Mark II is properly adjusted and ready for safe, efficient cutting.